AWS CodePipeline
Think of a CI/CD pipeline like a busy restaurant kitchen:
• Order Placed (GitHub Commit) – A customer places an order (you push code to GitHub).
• Prep Station (Build & Test) – The kitchen staff preps the meal (the pipeline builds and tests your code to make sure it’s good).
• Cooking Station (Deployment) – The meal is cooked and plated (CodePipeline packages the code for Elastic Beanstalk).
• Waiter Delivers (Release to Production) – The waiter serves the meal to the customer (your app updates go live).
Just like a restaurant, everything is organized, consistent, and fast, so customers (your users) get a high-quality experience without delays.
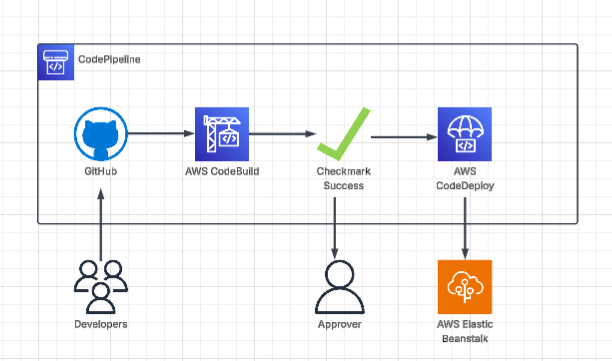
This project showcases the power of Continuous Integration and Continuous Deployment (CI/CD) using GitHub, AWS CodePipeline, and AWS Elastic Beanstalk. A CI/CD pipeline is essential for modern application development because it automates the process of integrating code changes, running tests, and deploying updates, ensuring that new features and fixes are delivered quickly and reliably. By leveraging AWS CodePipeline, this project creates a seamless workflow from code commit to production deployment, reducing manual effort and minimizing errors.
🔑 Key Features of this Project
• Automated Builds & Testing 🛠️ – Every code change pushed to GitHub triggers a pipeline that builds, tests, and validates the application automatically.
• Seamless Integration with AWS Elastic Beanstalk 🌐 – CodePipeline deploys updates directly to Elastic Beanstalk, enabling scalable and reliable application hosting.
• Faster Delivery & Reduced Risk ⚡ – Continuous deployment ensures that new features and patches are delivered quickly while maintaining stability.
• Version Control with GitHub 📂 – GitHub integration provides full transparency, allowing teams to track changes, roll back if needed, and collaborate efficiently.
Let’s dive in
Create Elastic Beanstalk Enviorment
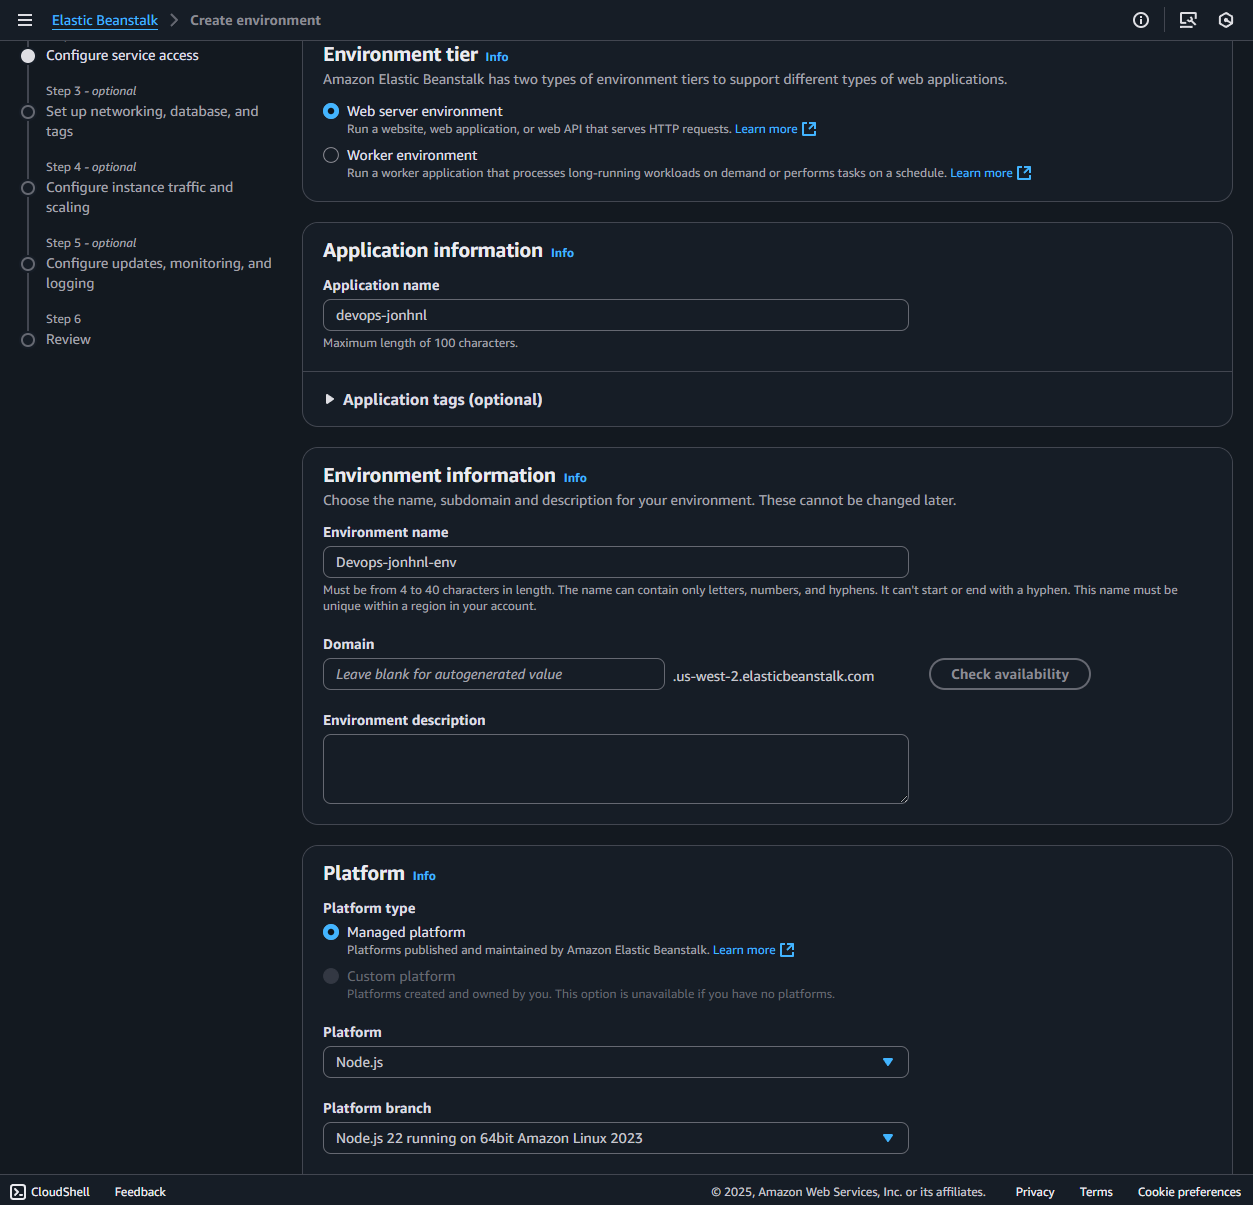
> Name the application name. In our case we will give it the name of "devops-jonhnl".
> Create an enviorment name. We will use "Devops-jonhnl-env".
> Select "Managed platform" and choose "Node.js" for managed platform.
> NEXT
> If you used Beanstalk before you'll have a Service Role, if not create a role. This will give Beanstalk the nessesary permissions to operate.
> Select an Instance Profile, even though we don't want to give permissions to access other services AWS requires an instance profile or else it will error. We'll select "S3-ReadOnly".
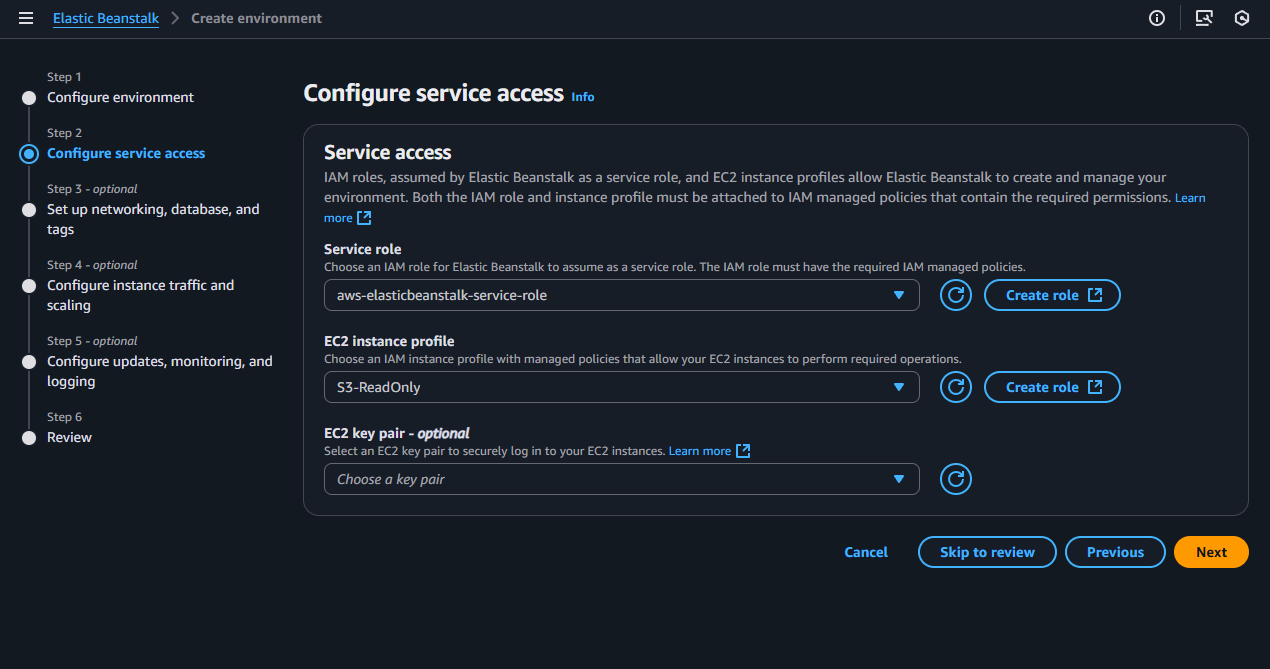
> NEXT
> Select your VPC subnet and select atleast 2 instance subnets.
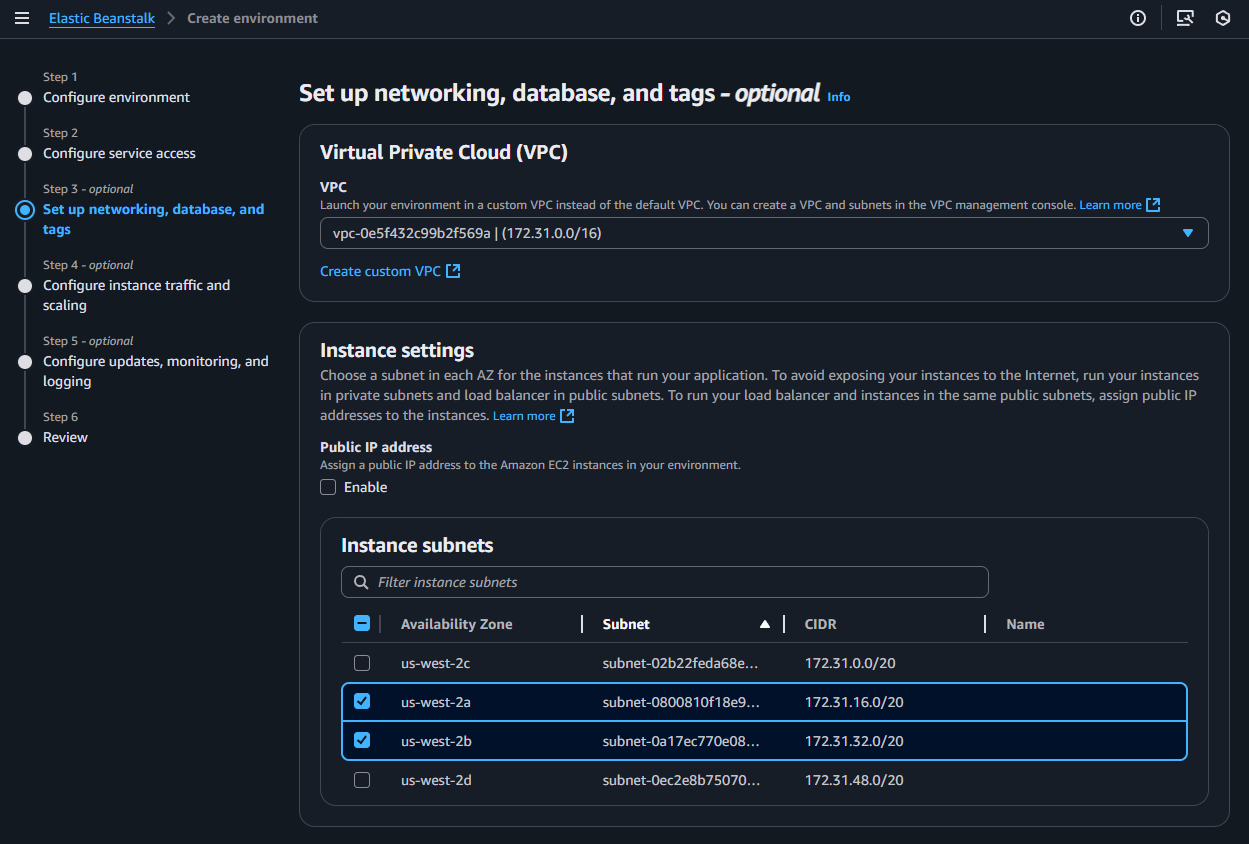
> NEXT
> In Configure instance traffic and scaling; select the appropriate Security Group (SG) and keep default settings. In our project our SG is set to allow HTTP and HTTPS from anywhere.
> NEXT
> In "Configure updates, monitoring, and logging" set monitoring system to BASIC and TURN OFF MANAGED UPDATES (uncheck enable).
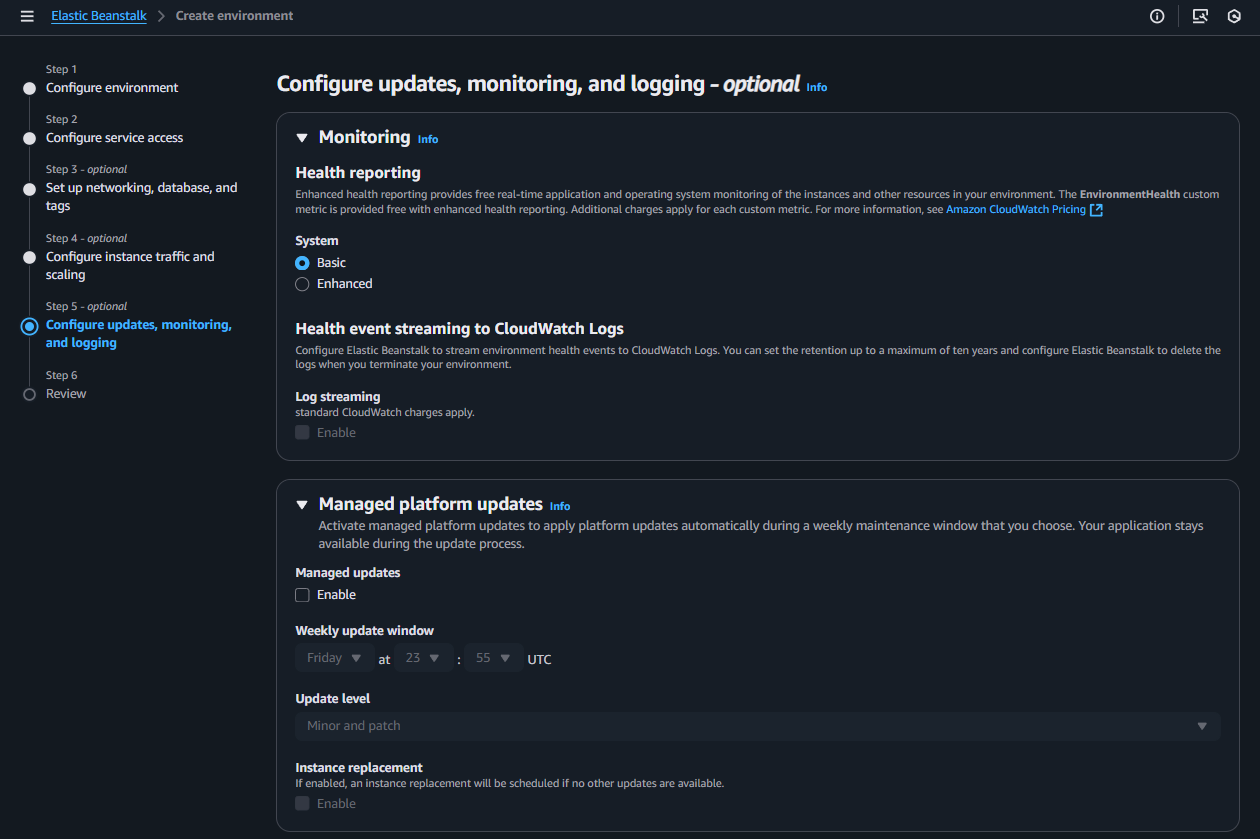
> Create enviorment! This will take around 15 minutes to deploy. While thats creating lets start the next step.
Create Code Pipeline
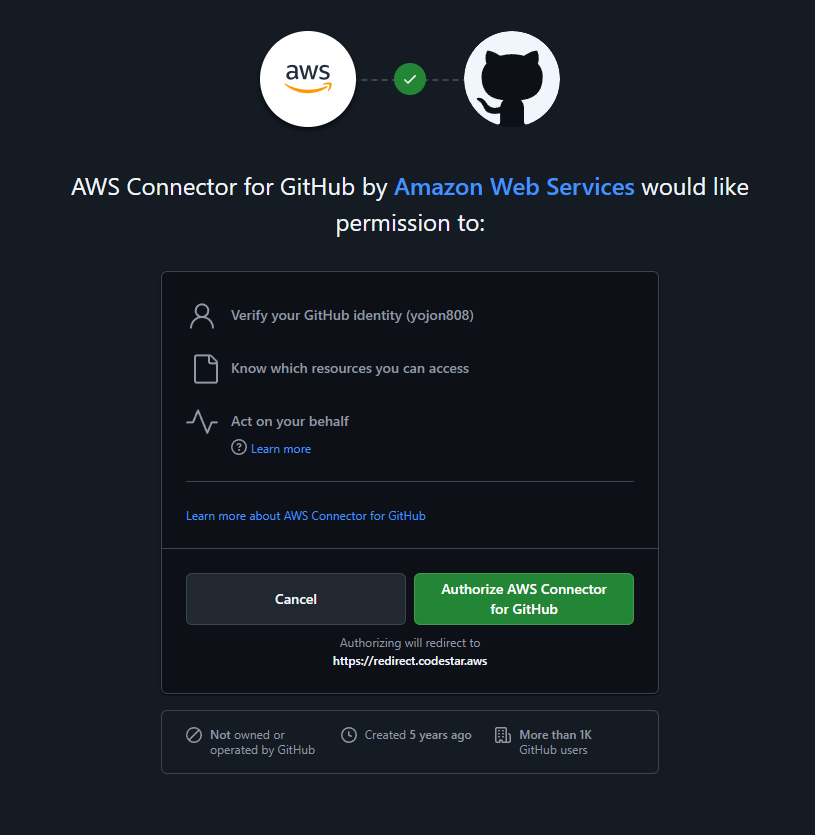
> Navigate to CodePipeline. On the left hand side under Settings, go to connections. Connect your GitHub account with AWS by "Authorizing AWS Connector for GitHub"
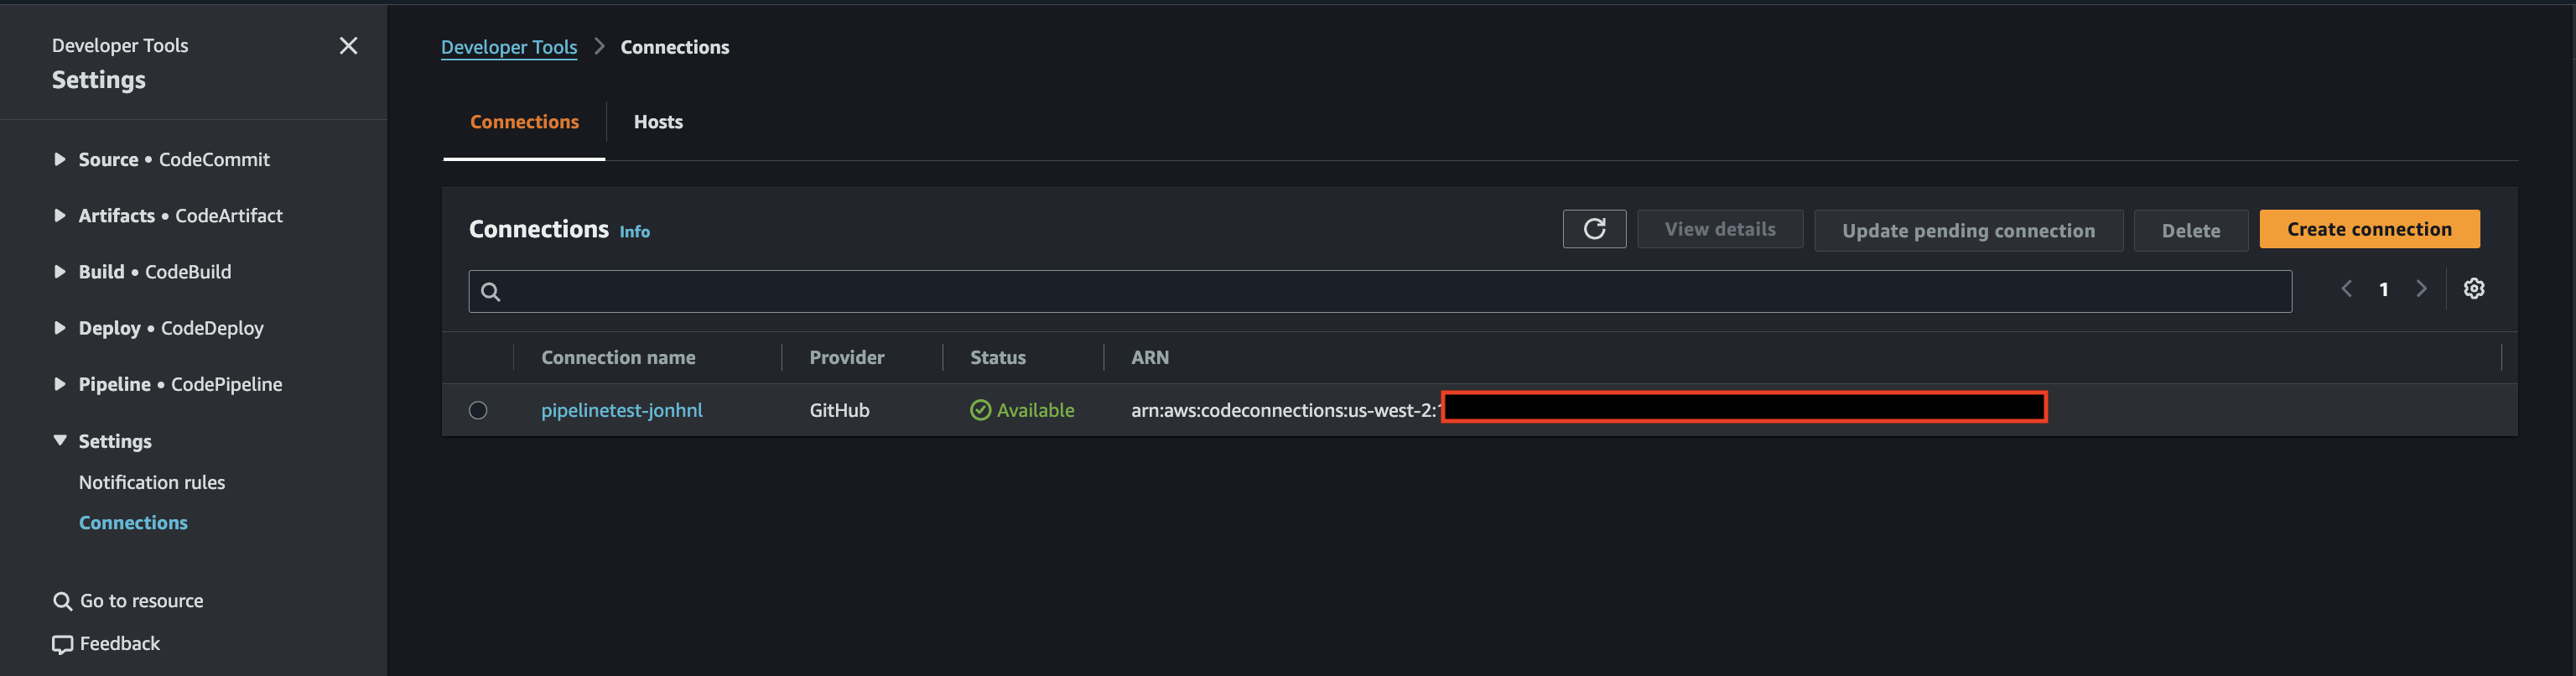
> Next
>Go to Cloudshell, run this command. Dont forget to add your git URL.
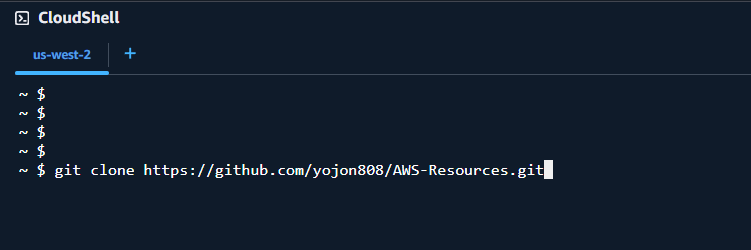
>Nice.
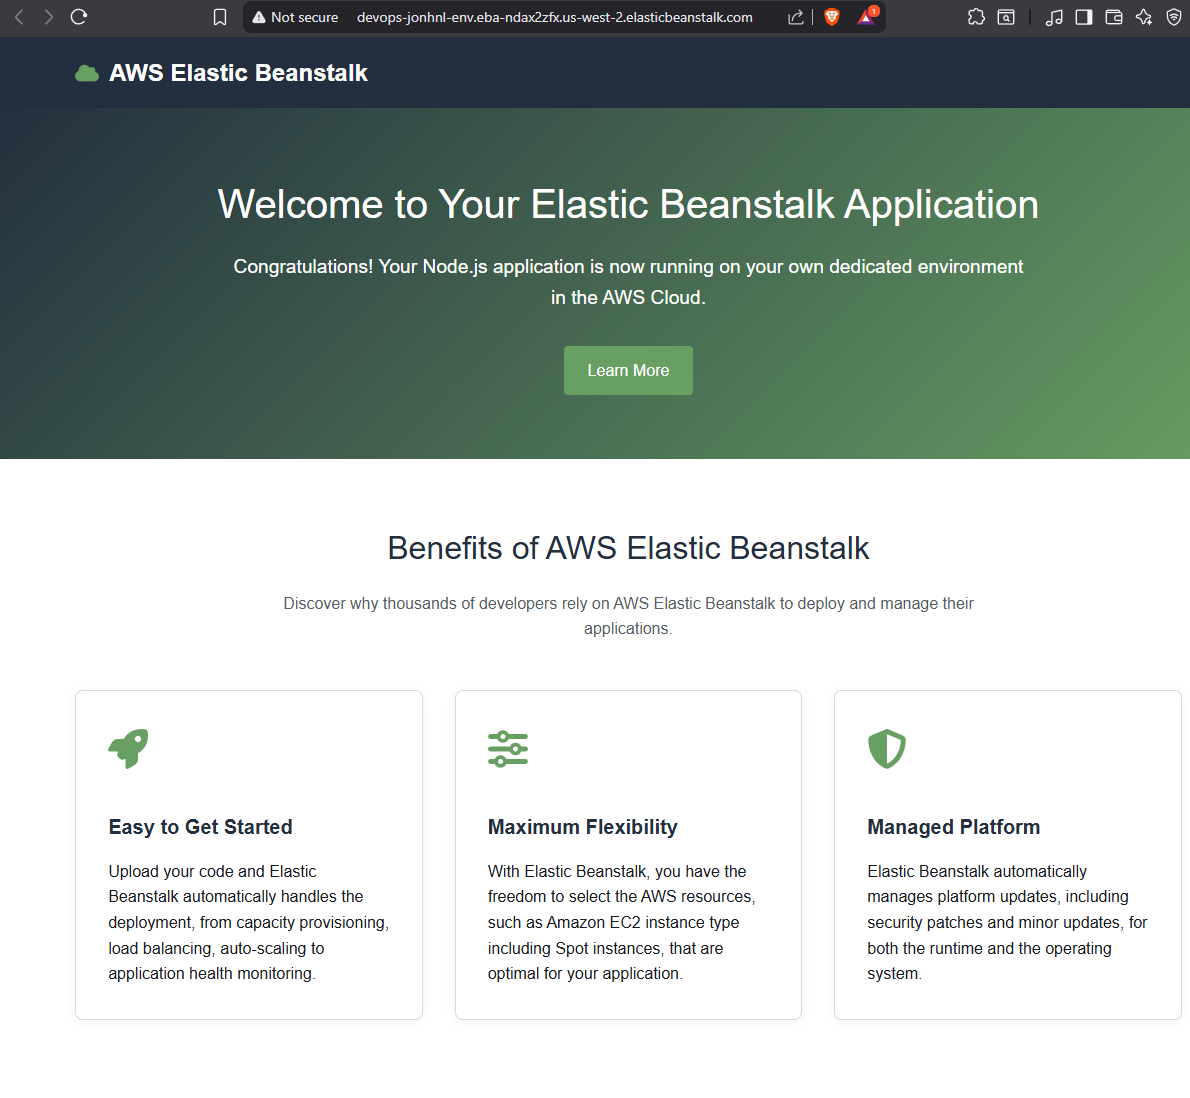
> Now, Check beanstalk. browse to Beanstalk and check the domain URL. it should look like this once it sucessfully deploys.
> Lets build our pipeline.
> Navigate to CodePipeline.
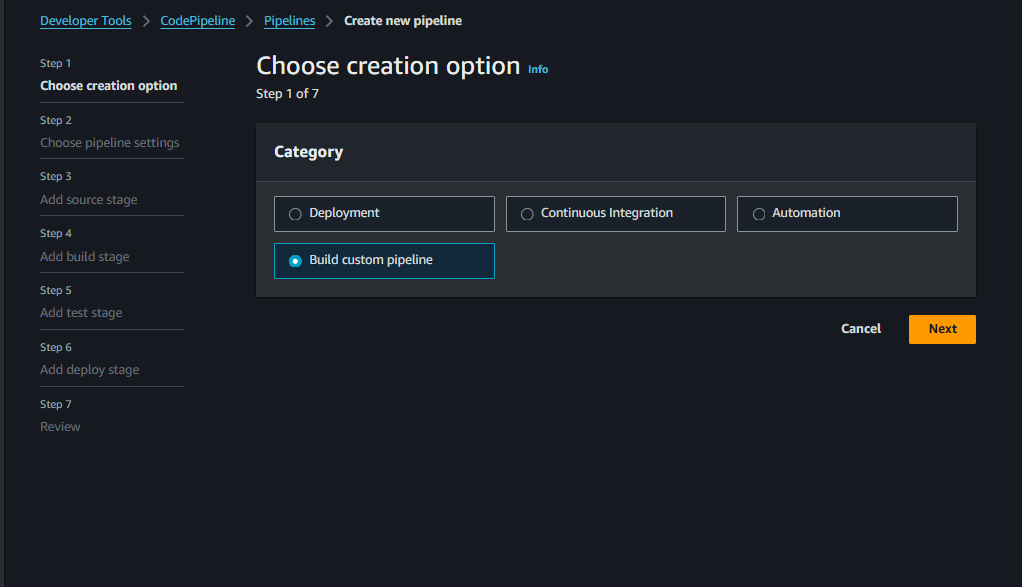
> Create pipepline.
> Build custom pipeline.
> Name your pipeline (leave the default settings, note: a new role will be created).
> Source provider: GitHub (via GitHub App) and select connection and repo, for this case we will set the default branch to "main" (leave the other default settings).
> Skip the build and test stage.
> In Deploy Stage select AWS Elastic Beanstalk.
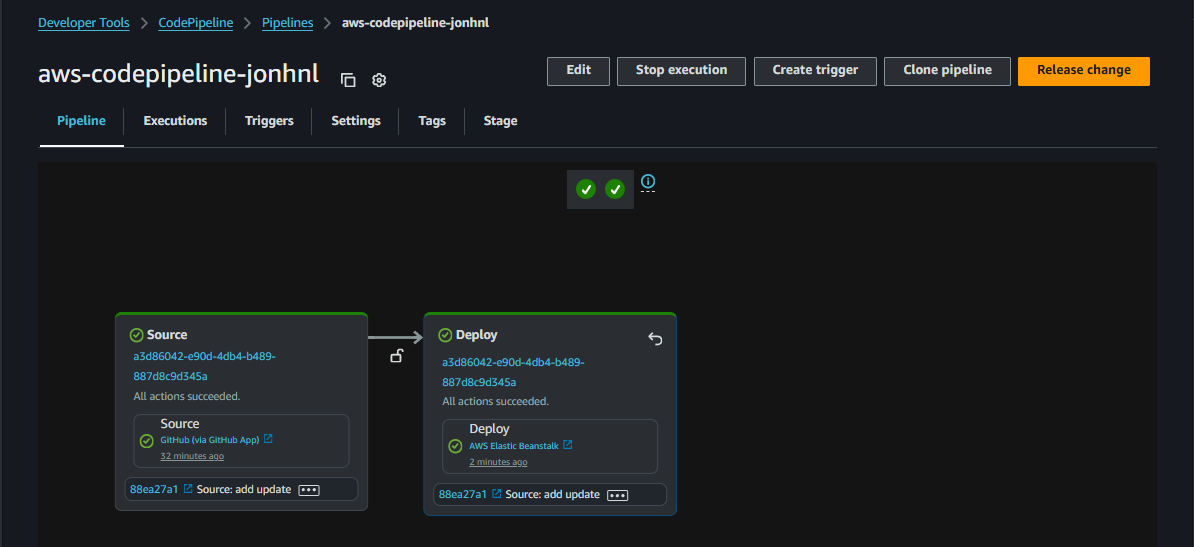
> Create Pipeline.
> AWS will check with GitHub to check for code. There isnt any code yet and expect this to fail.
> Lets upload some code. This code is provided by Neal, Check out his Course on Udemy!
Download Neal's Code!
> Open Cloudshell. Unzip and upload the files from Neal called "Nodejs-blue.zip"
> Run the following commands
> AWS-Resources $ git commit -m "add updated index.html"
> Congratulations! You can push code to your github repo.